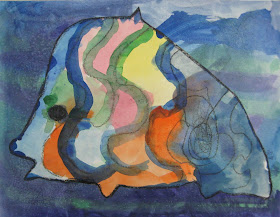
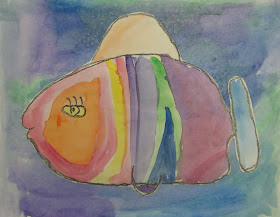
 These are your basic crayon resist fish, but with a new twist.... students painted the fish separately from the background, then we glued them on top after everything was dry. The result is a background that looks continuous. Try sprinkling some salt on your background before it dries for an interesting, "watery" effect! I like to put up lots of visual references for students to look at for inspiration.... calendar pages work well for this. (Ask parents to donate their old calendars at the end of the year!)
1. First, paint your background on a piece of 9x12 heavy weight construction paper or watercolor paper. Use colors that you might see in the ocean.... blues, greens, turquoise, purple, etc. Use lots of water and pigment, so your colors are bright!
2. Quickly, before your paint has a chance to dry (while it still has a "sheen" to it), sprinkle some salt on your painting (we used rock salt this time and it seemed to work even better than normal salt). Set your painting aside to dry overnight.
3. Now, use a pencil to draw a large fish in the center of another piece of the same size paper . Don't worry about drawing a fish that looks exactly like one of the examples, but just combine different bodies, fins, tails, etc. to make your drawing "fish-ish". Add some fun patterns and details.
4. Then, trace over your pencil lines with a black crayon, pressing hard.
5. Finally, use watercolors to paint your fish. Make it bright and colorful!
6. Let both paintings dry overnight. Then, the next day you can brush the salt off of your background painting. (For the salt to take full effect, it really is important to let your painting dry overnight, so be patient!)
7. Cut out your fish (or have an adult help you) and glue it onto the background. ("Yes! Paste" is the very best thing to use for this project, as it will dry flat and permanent and won't peel up or pop off like glue sticks will!)


 These delightful paintings were done by my some of my first graders, for our KidsKreations fundraiser project. This is a great project for re-printing onto products because of the high success rate (everyone was happy with their painting), the bright colors and the charming, child-like designs. I can't wait to see how adorable they look printed on cutting boards, note cards, coffee mugs, and more!!
thought you might like to see what we did. http://pursuingjoy.blogspot.com/2009/11/under-sea.html
ReplyDeletethank-you!!!