 I love to end our school year with a fun activity that my students will remember. This year, I discovered The Marshmallow Challenge while watching a TED Talk and I couldn’t wait to try it! This activity encourages creativity, problem solving and teamwork…. skills that are essential for becoming an innovator in today’s rapidly changing world. Click here to watch a short video detailing TED Talk presenter Tom Wujec’s experiences using the Marshmallow Challenge with thousands of participants, from Kindergarteners through CEO’s of Fortune 500 companies! The Marshmallow Challenge uses inexpensive materials and requires very little prep. Although it does not yield a finished product for students to take home, the lessons it teaches are many and students will enjoy the challenge to think creatively and work as a team!
Materials (per group of 2-4 students):
- 20 - sticks of uncooked spaghetti
- 1 - yard masking tape
- 1 - yard string
- (scissors for cutting the string)
- 1 - marshmallow
- a large digital timer that counts down (You can use your computer - download a free timer application for windows or mac.)
- tape measure
(I recommend first watching the TED Talk video at www.marshmallow challenge.com to familiarize yourself with this activity.)
1. Have students work in groups of 3 if possible (groups of 2 or 4 will also work), around flat tables or desks.
2. Give directions and repeat them a couple of times so that everyone understands what to do:
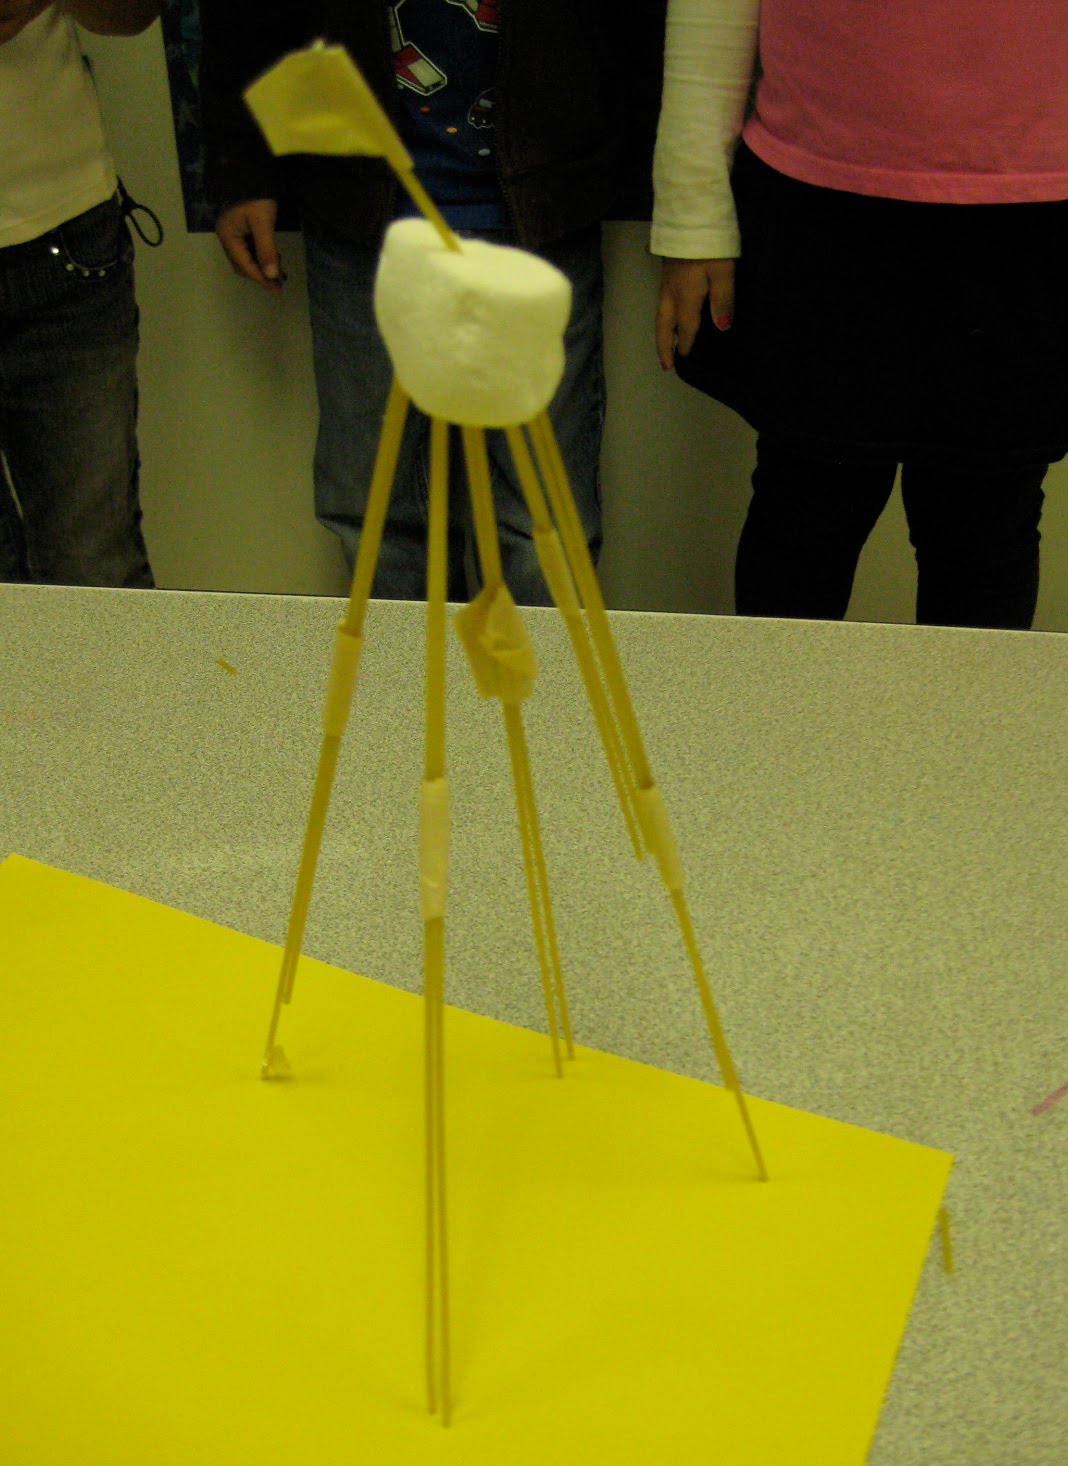
Students will have 18 minutes to work in their groups to build the tallest freestanding structure possible, using only the materials provided. (The structure will be measured to the top of the marshmallow, so the marshmallow should be at the highest point of the structure!)
3. Start the timer and give warnings at 10 minutes, 5 minutes, 1 minute, and 30 seconds. Then count down the final 10 seconds together.
4. When the time is up, measure all structures that are standing, from lowest to highest. (Structures may not be taped down and must stand on their own, without students holding them up!)
5. The team with the tallest freestanding structure gets a standing ovation! (Interesting side note: I was surprised to discover that only one student in my entire K-6 school knew what a standing ovation was!)

Helpful tip: I placed a different colored sheet of construction paper on each table to identify the various teams… the red team, blue team, orange team, etc. You can walk around while students are working and make comments to the class like, “Looks like the green team is off to a good start”, or “The red team has a structure standing”. This helps create excitement and motivation.
Closure: It was fascinating to observe how different personalities work together (or not!), and to watch the different strategies and approaches that students used in solving problems. The tallest structure was built by my 6th grade students, but as the video suggests, it was actually my kindergarten students who had the most success in building structures that were able to stand on their own! Try this with your own students, then spend a few minutes at the end discussing what worked, what problems they experienced, and what they learned. You’ll be amazed!!
this is fantastic!! Love your blog!!
ReplyDeletei am enrolled to do post grad teaching next year to be an art teacher and have just started a little weekly linky on my blog dedicated to kids art.. Would love for you to join in with some of these amazing ideas..
Xx
www.kasiabear.com