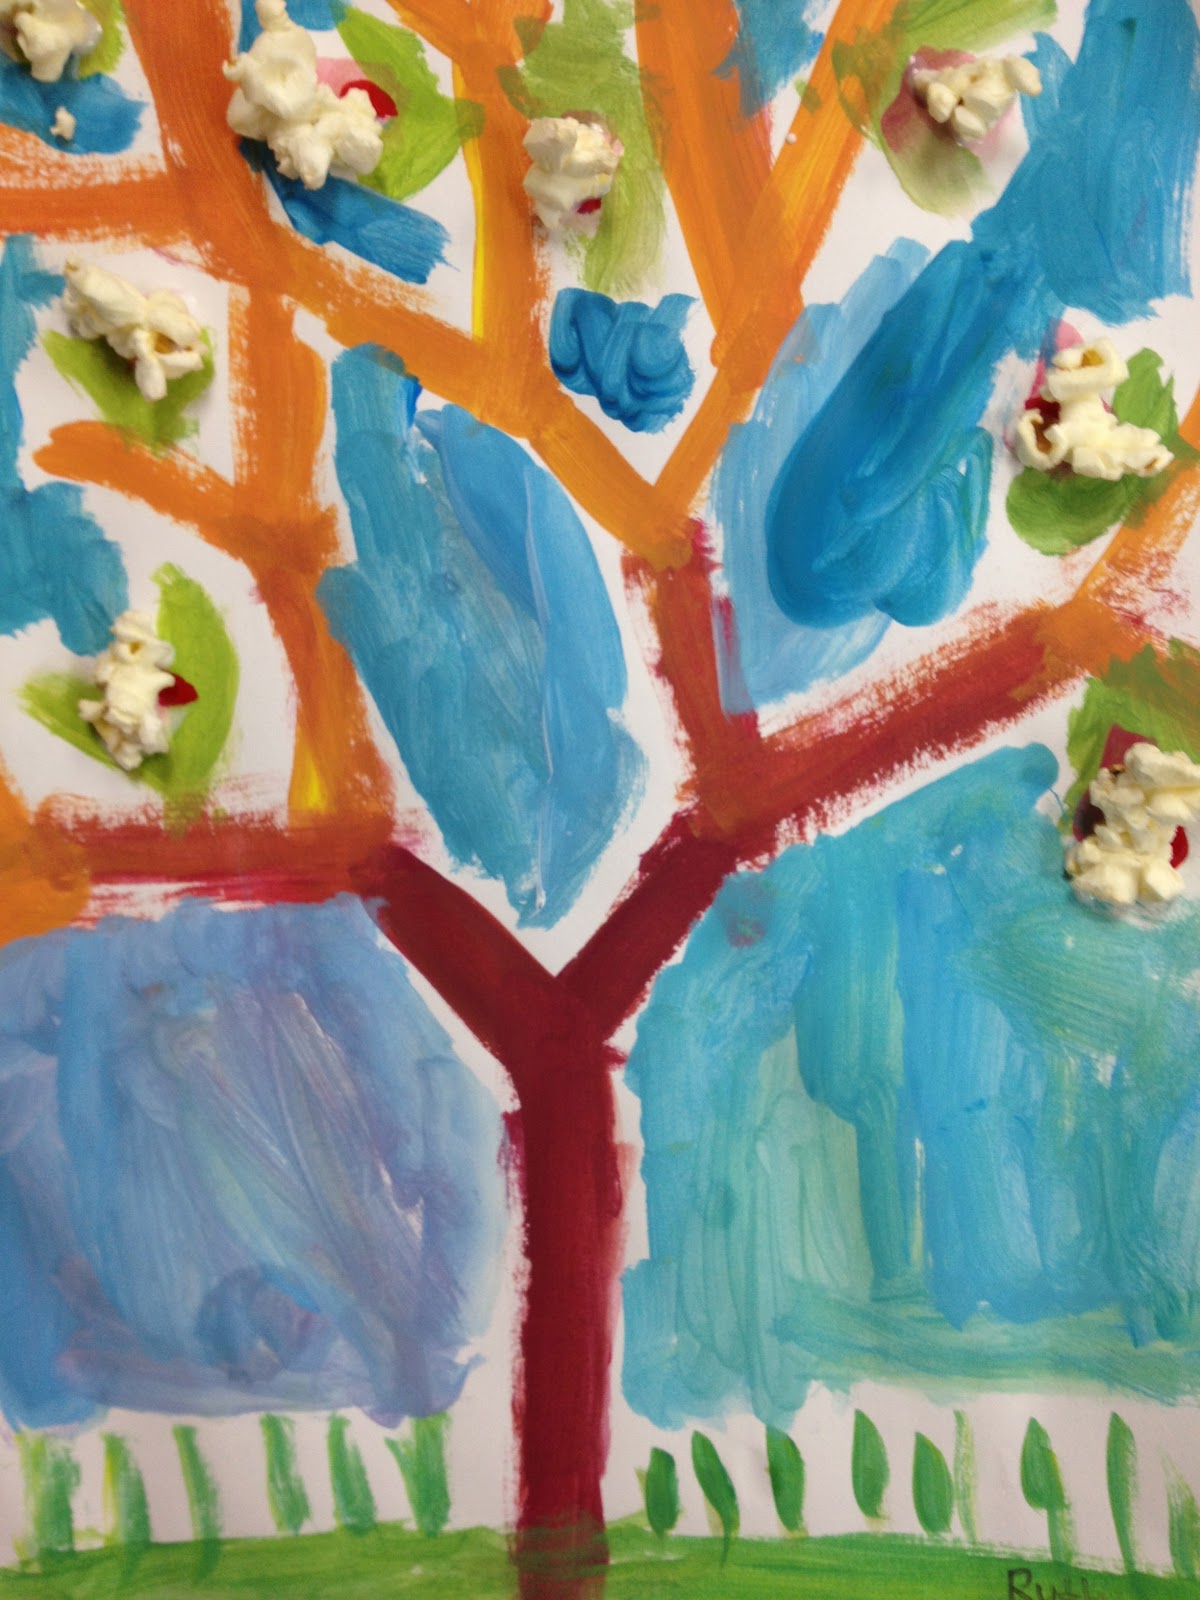
Spring has sprung, and to celebrate, our Kinders painted trees blossoming with flowers made of popcorn! This lesson reinforces the color mixing skills we've been working on all year, as well as teaches a basic technique for drawing/painting trees. Adding popcorn also gives the opportunity to talk about the concept of "mixed media". And who doesn't love popcorn??!
Materials:
- 9x12 white construction paper
- tempera paint: red, yellow, blue (we use turquoise) and white
- paper plates for palette and for glue (I cut glue plates into quarters.)
- #8-10 watercolor brush
- water
- "Aleen's Tacky Glue" (You can use Elmer's, but Aleene's is thicker and makes a stronger, faster drying bond.)
Directions:
1. First, I showed students photos I had taken of trees near our school, with new leaves sprouting and fluffy blossoms that looked like popcorn! I told them to be sure to look for these trees on their way home from school and to point them out to their families and friends!

2. Next, we mixed the primaries (red, yellow and blue) to make brown, and we painted a tall "Y" in the middle of our paper to form the trunk and first two branches.


3. Then, we added a "V" to the end of each branch, and kept repeating that pattern til we went off the top and sides of the paper (we call this "cropping").

4. From there, we mixed blue and yellow to make green and painted small leaves sprouting from the branches. We also painted some grass across the bottom of the paper.

5. Then we mixed white with a tiny bit of red to paint a pink blossom on each cluster of leaves.

6. Never wanting to use a color straight from the bottle, we mixed our blue with a little white to paint the sky in each of our negative spaces (another concept you can teach with this project!).
7. Finally, you can proclaim your painting finished, or go on to add a piece of popcorn on each blossom. To add popcorn, I gave each student a small handful of popcorn and a little glue on a paper plate. (Students were told that they could have their very own cup of popcorn when they were finished if they didn't eat any while they were working.) Simply dip the popcorn, one piece at a time, in the glue and place on your paper. Make sure the paintings stay flat til they have a chance to dry! Then, wash your hands and enjoy your popcorn treat - delayed gratification!
I think these paintings are lovely with or without the popcorn, but my guess is that the kids will votes for adding the popcorn!


These kinders did a beautiful job!!
ReplyDeleteThat's just beautiful! I suppose that some must have had a furious envy to eat some pop corn ;-)
ReplyDeleteSooo cute! I do an observational drawing lesson with my high schoolers using popcorn- now I know what to do with the popcorn afterwards instead of throwing it out! Thanks for sharing such detailed steps.
ReplyDeleteI used to do that popcorn drawing lesson when I taught high school, too. Another fun one is a crumpled up sheet of paper... great for teaching value and shading!
ReplyDelete